MagicMirror² Raspberry Pi 4 Build
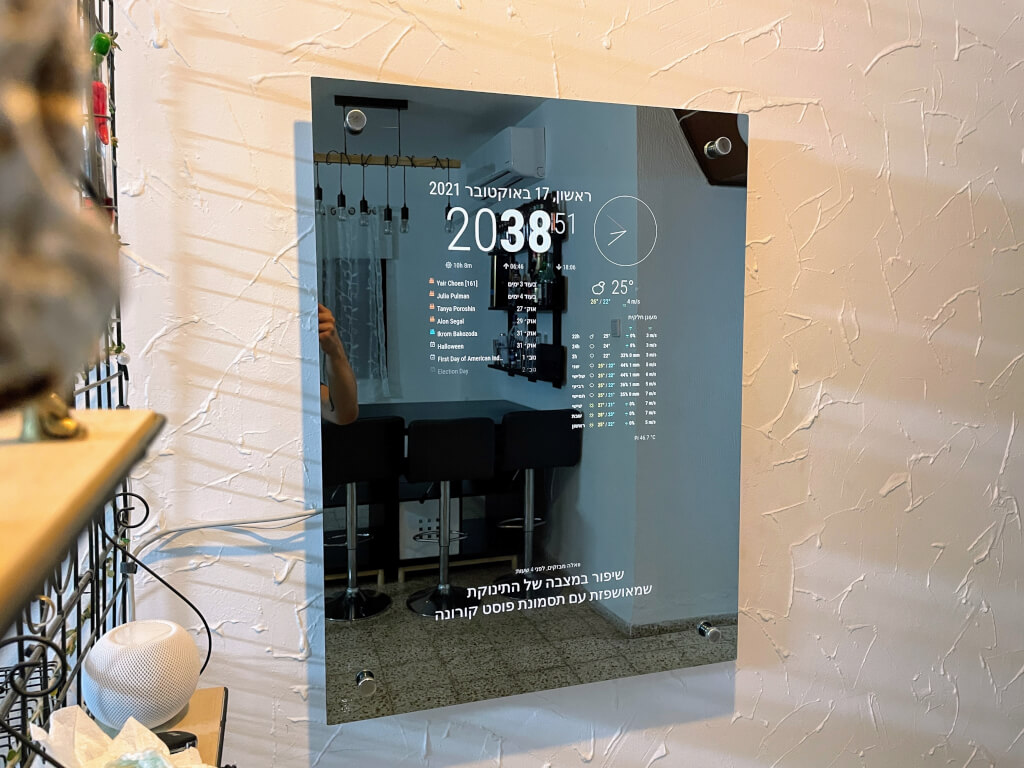
To be honest, this was not my first Magic Mirror project. My first build is still available as a legacy build record.
This second version uses a Raspberry Pi 4, a recycled 27-inch iMac display, a motion sensor, and an external power button. The original software deployment used Docker; the build story and hardware are still useful, but the old container recipe is retired below.
References
The Build Process
I had a dead 2011 27-inch iMac with a 2K display. I managed to reuse its LCD panel with this controller from AliExpress. It includes the backlight inverter and turns the panel into an HDMI monitor for the Raspberry Pi 4.
I first tested the controller with the LCD panel still inside the original iMac body.
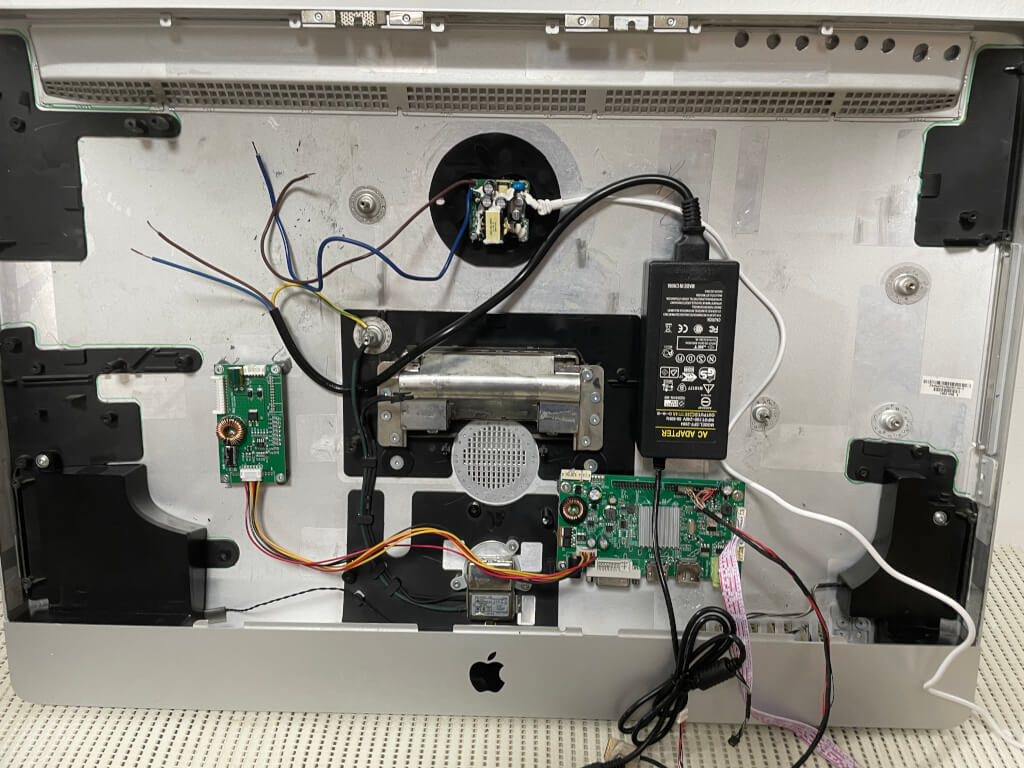
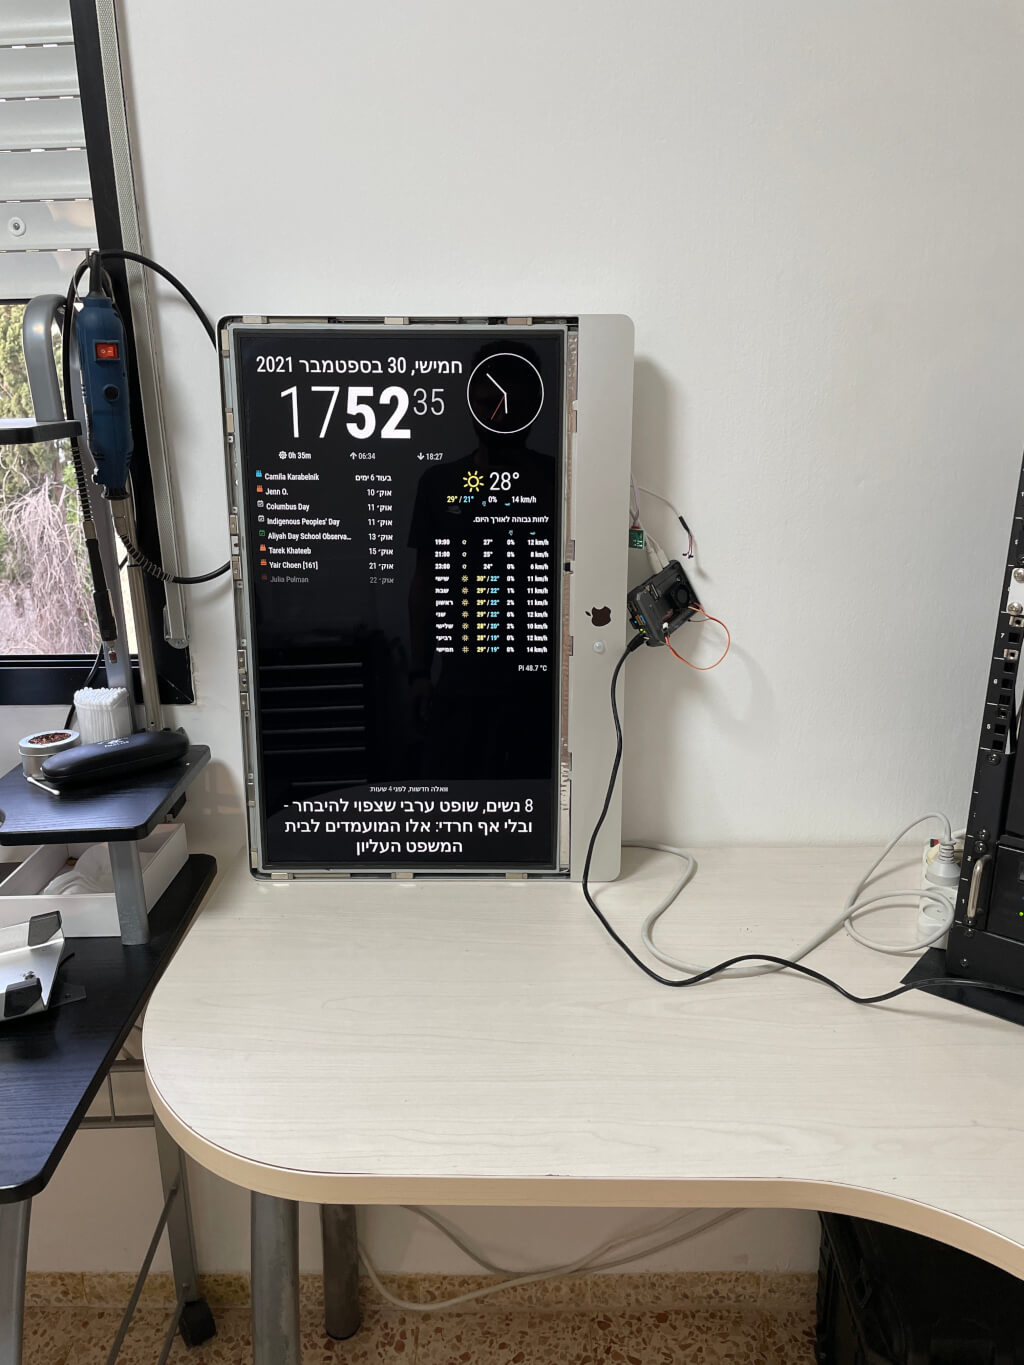
Then I connected the Raspberry Pi for the first MagicMirror² test and configuration.
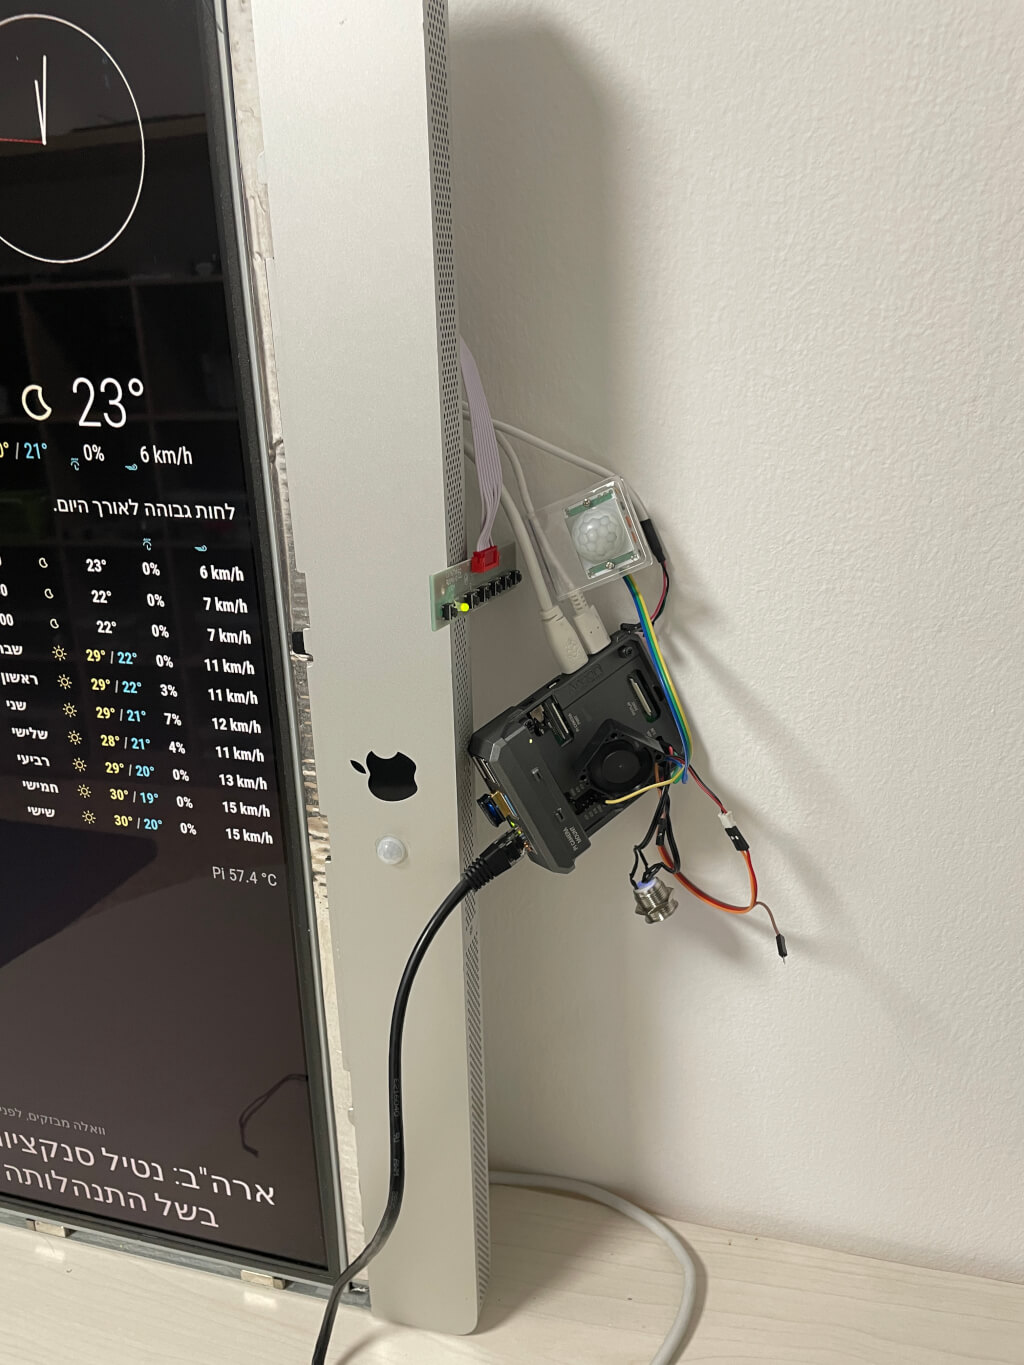
From my first MagicMirror build, I knew I wanted a motion sensor to detect someone in front of the mirror and control the display. I also added a power button to shut down or restart the Raspberry Pi without opening the frame.
I could not find one project that handled the exact button and motion-sensor behavior I wanted, so I created these two parts:
This was my test setup for the power button and motion sensor.
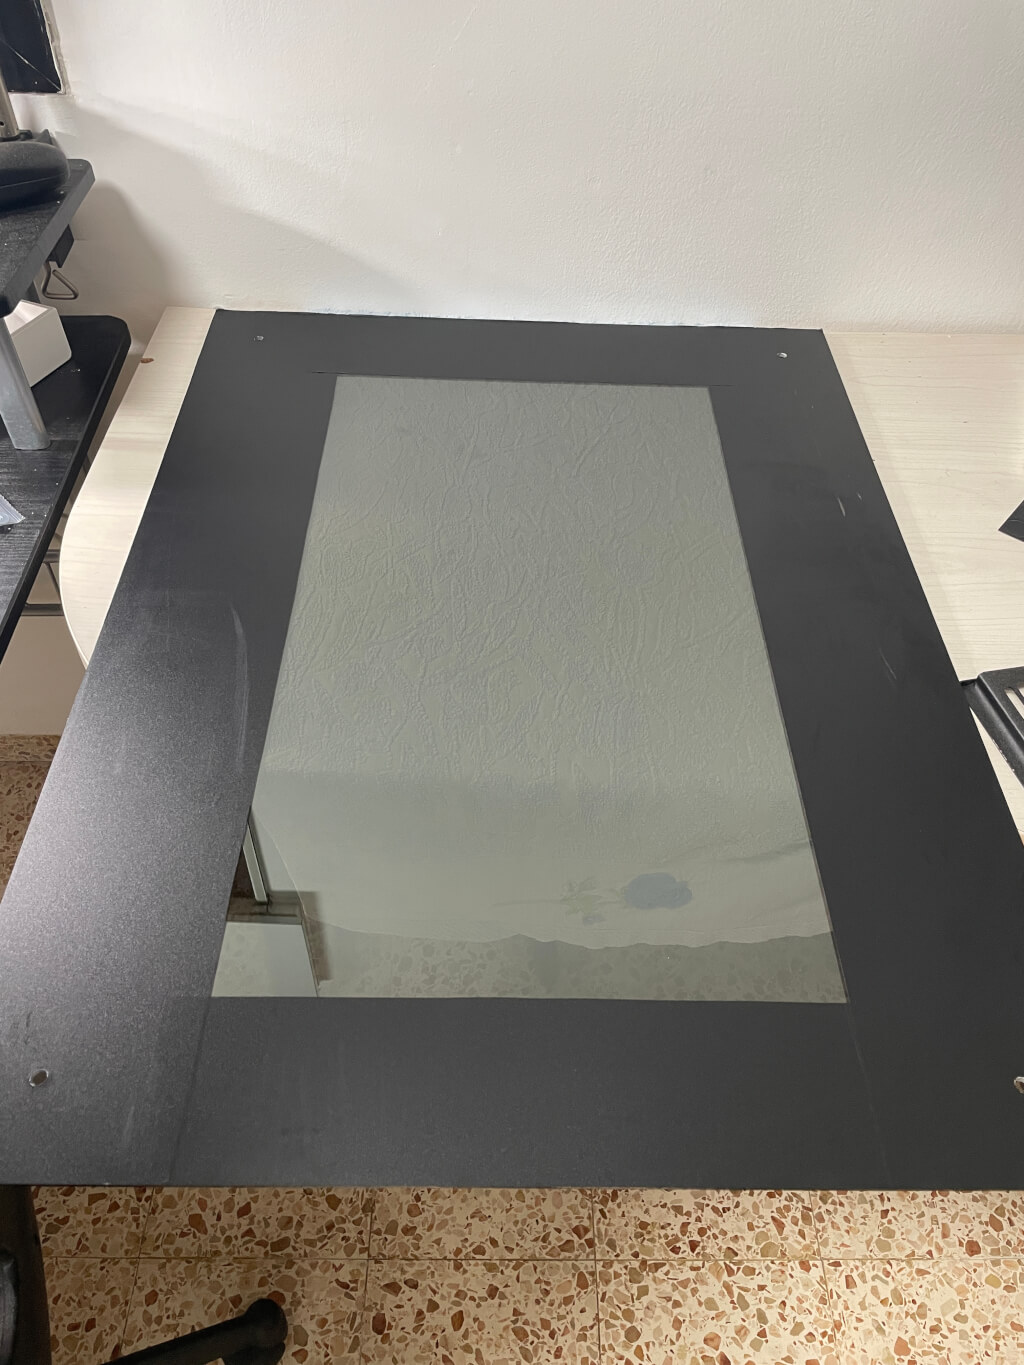
I ordered reflective glass with four mounting holes. Finding suitable glass was one of the harder parts. This piece is tinted and not perfect, but it worked much better than the mirror film I used on the first build.
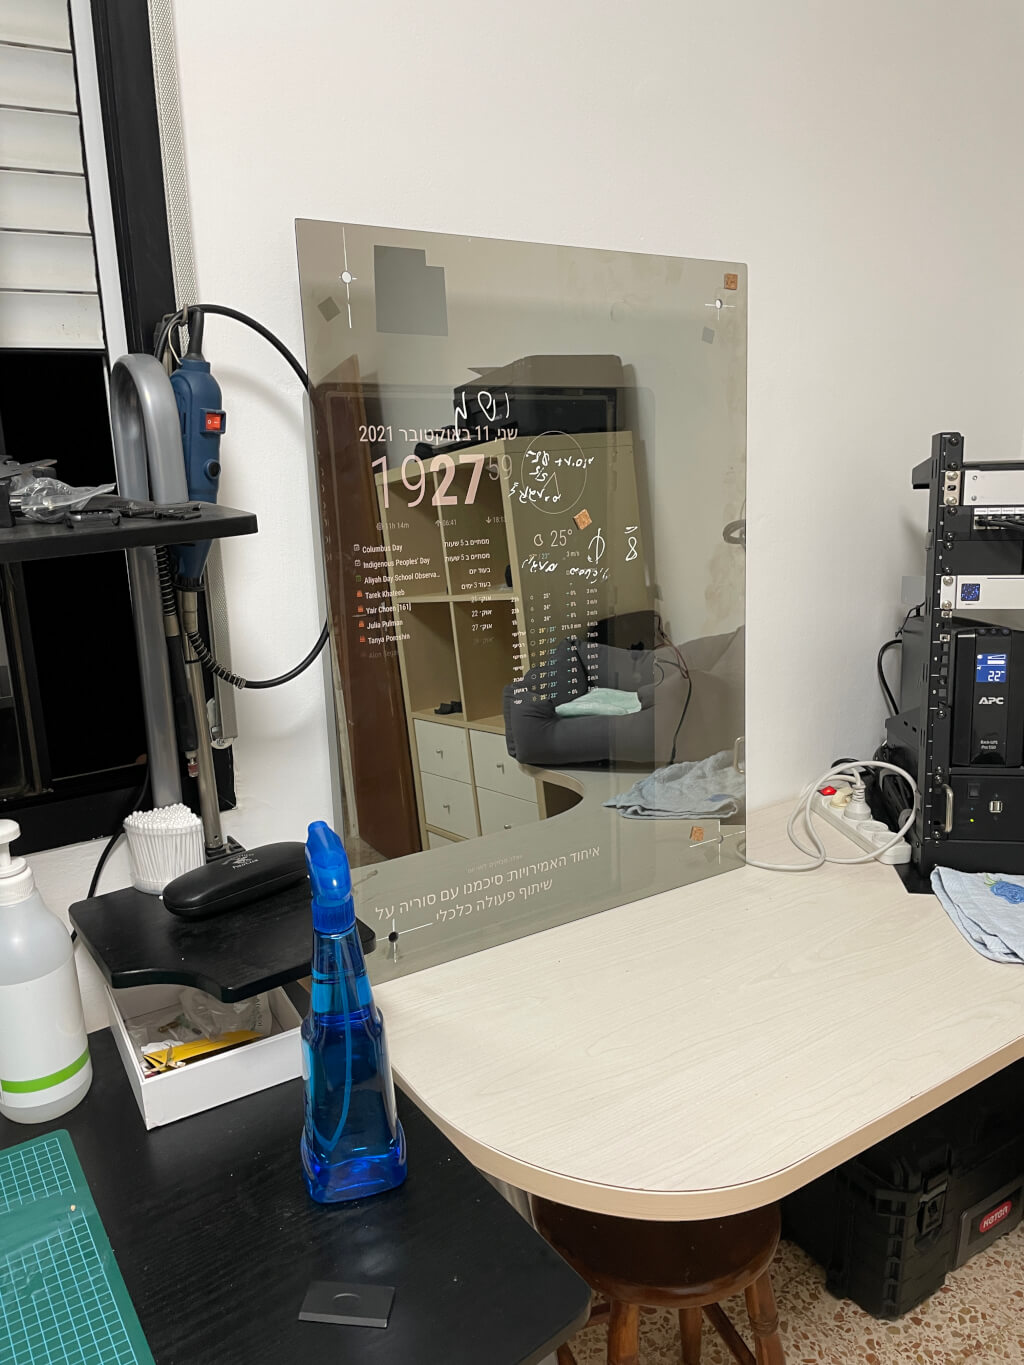
After proving that every part worked as intended, I continued with the frame.
I used scrap wood for the frame and the LCD-panel and glass mounts.
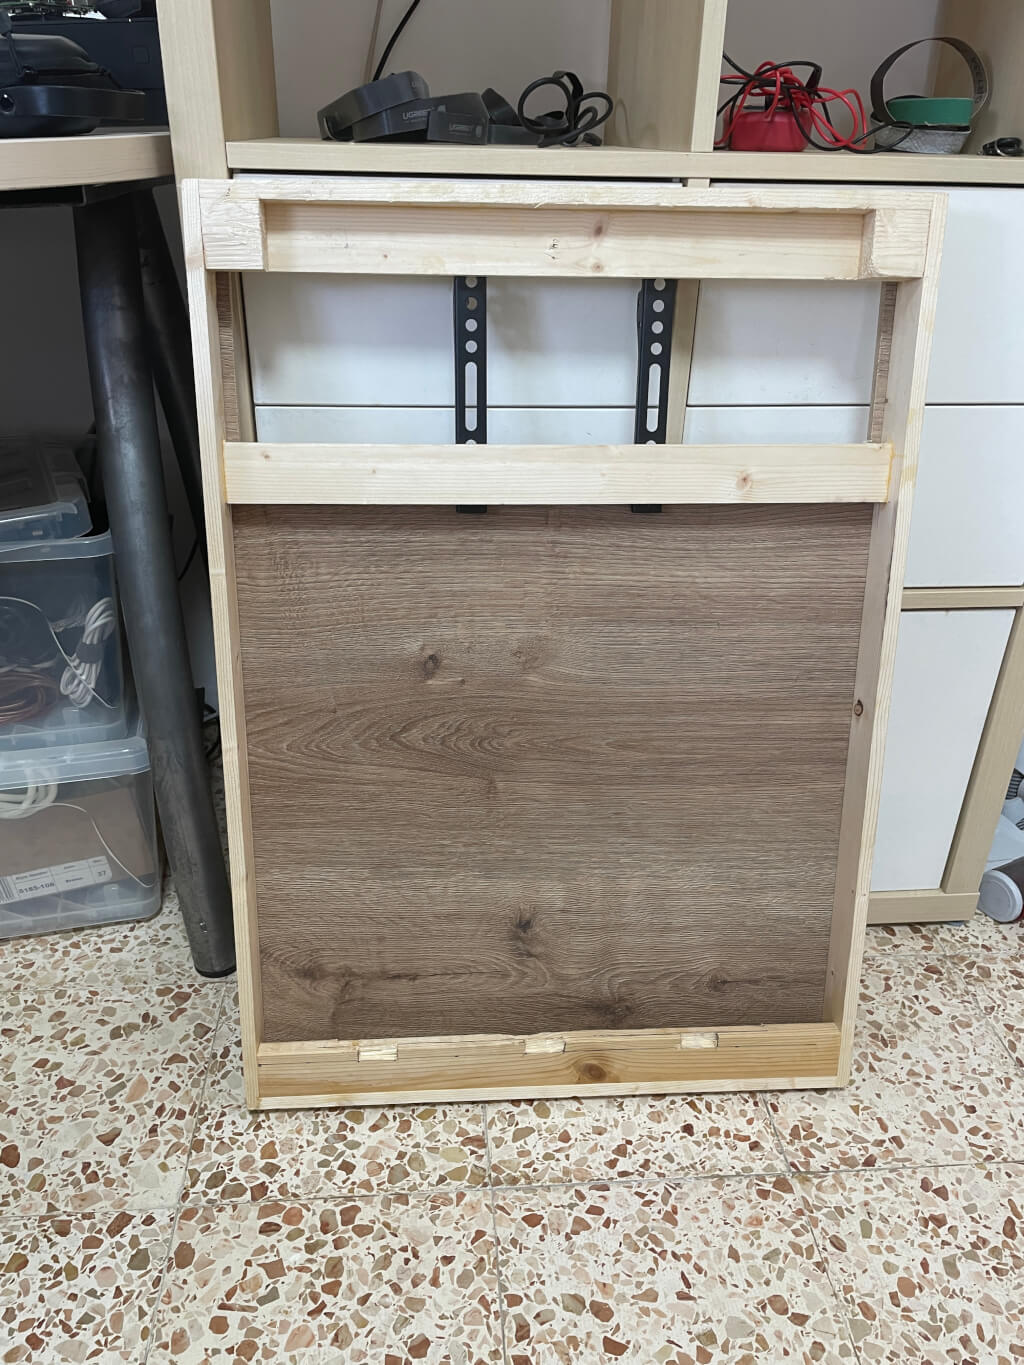
For mounting the Magic Mirror to the wall, I used the smallest TV mount I could find.
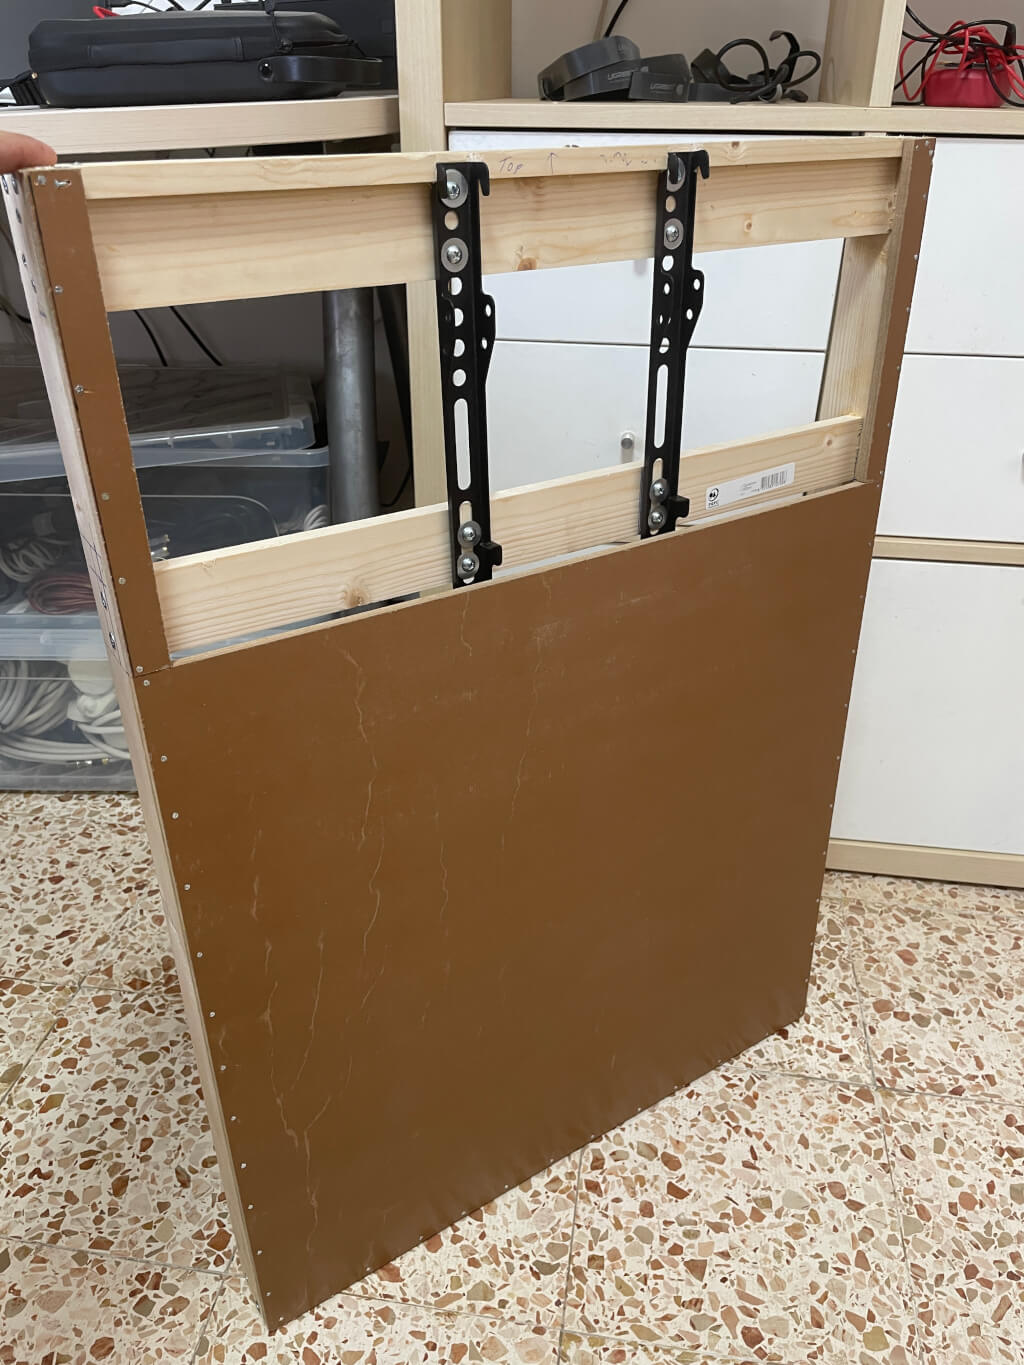
After building the frame, I added the electronics.
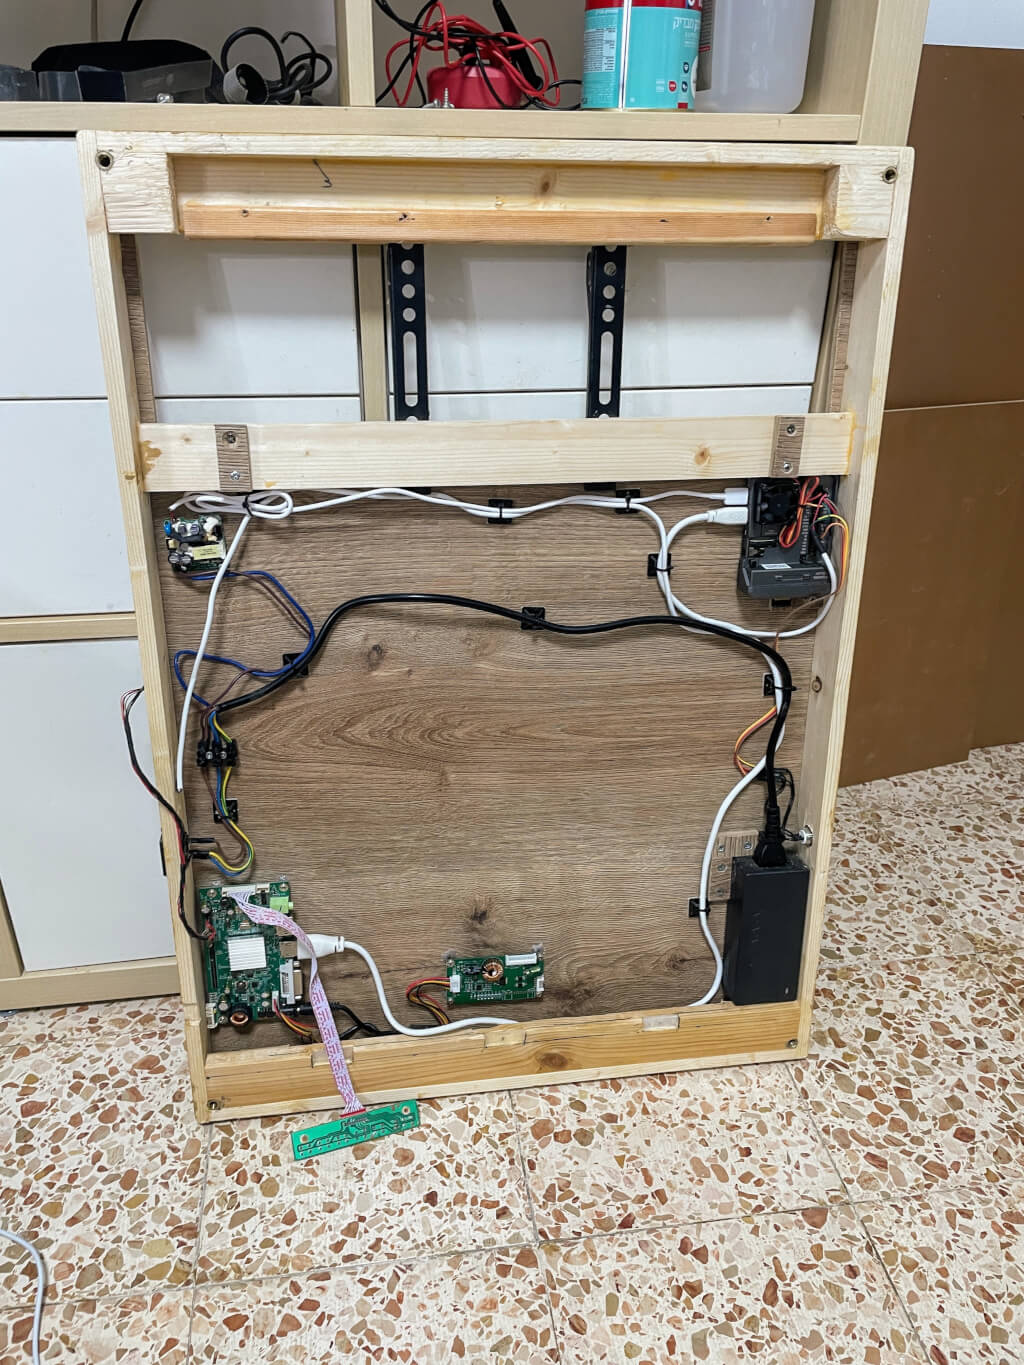
I performed one more sanity check on the electronics and display assembly.
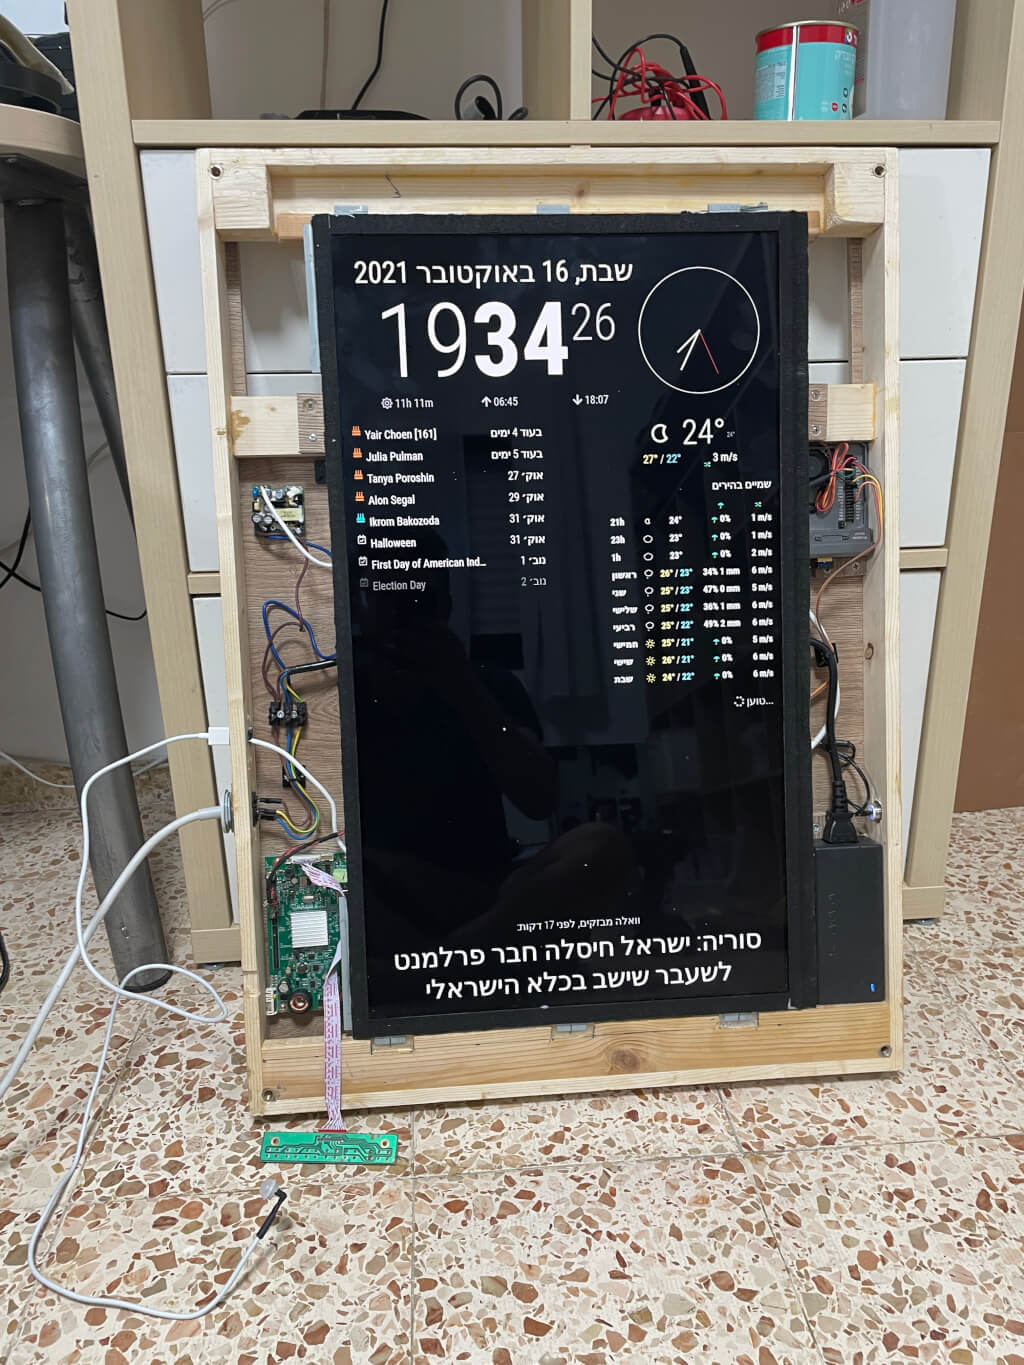
I wanted a floating-glass effect, so the glass does not cover the whole frame. I covered the exposed areas behind it to prevent light leaks.
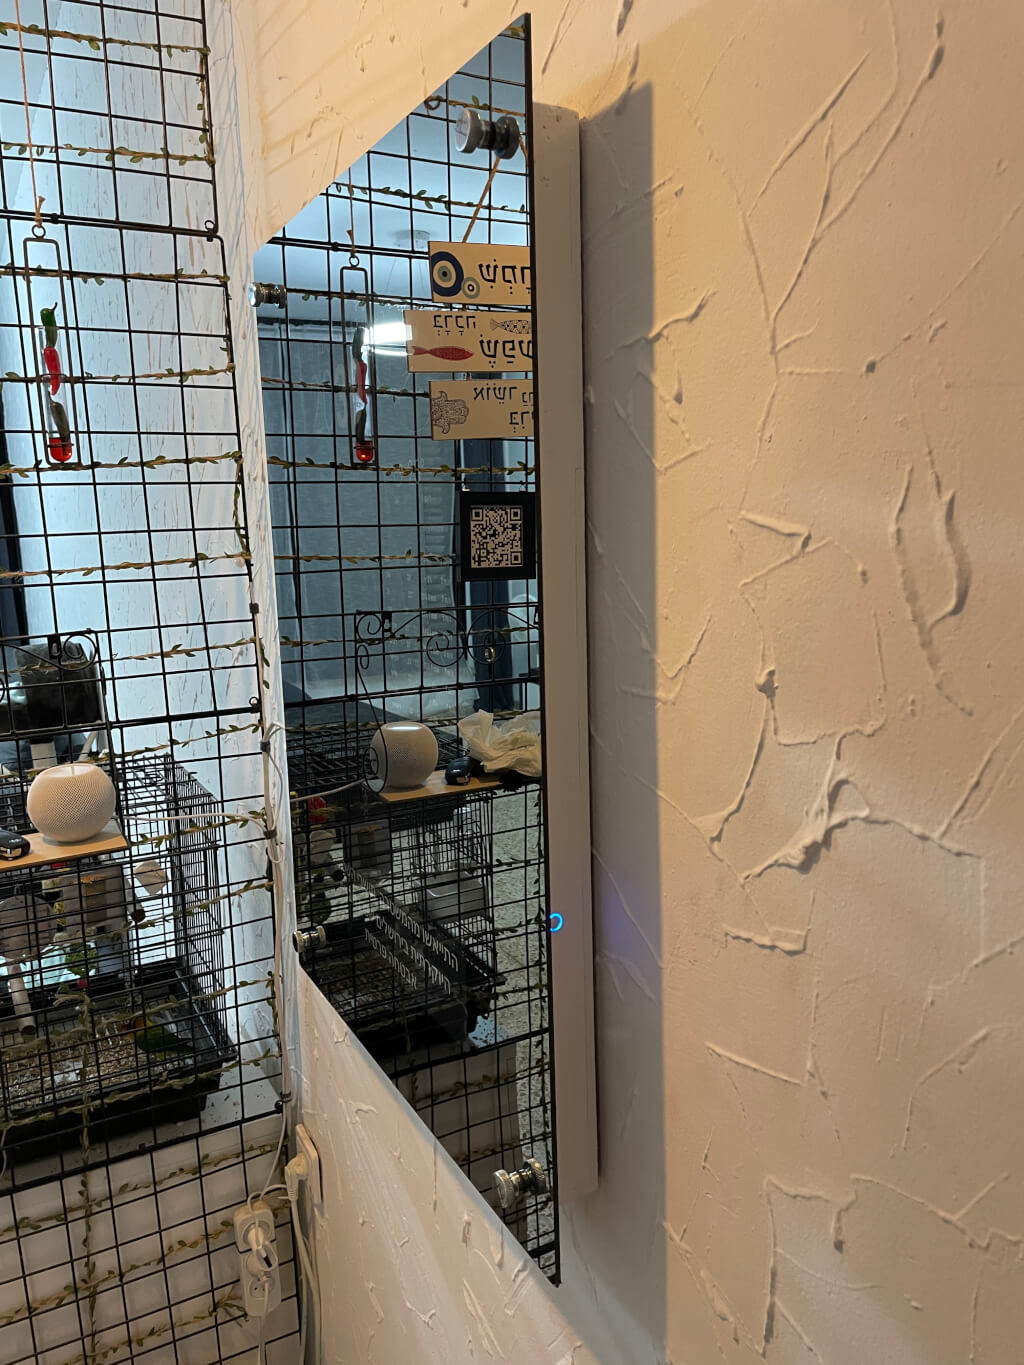
Finally, the Magic Mirror was ready for the wall.
Current Software Setup
Original Docker recipe retired
The first version of this page used a Compose v3 file with Raspberry Pi X11, /opt/vc, and /dev/vchiq mappings. That stack describes the older Raspberry Pi graphics environment and should not be copied to a current Raspberry Pi OS installation.
The MagicMirror² team currently supports manual installation. Check its required Node.js version first because the requirement changes between releases:
git clone https://github.com/MagicMirrorOrg/MagicMirror.git
cd MagicMirror
node --run install-mm
cp config/config.js.sample config/config.js
node --run start
MagicMirror² also links to a community Docker deployment, but it is not maintained by the core team. If you choose Docker, use the current compose example from that project and review its image tag, mounts, display mode, port binding, and update procedure before deploying it.
The official installation page is the source of truth for current commands. It also documents server-only mode, X11, Wayland, and the current autostart service.