Original Raspberry Pi MagicMirror Build
Legacy build record
This is my first MagicMirror hardware build. The original software section used old Raspbian graphics, LXDE autostart, Node.js 10, /etc/network/interfaces, and retired Raspberry Pi display settings. I removed those commands because they are not a current installation guide.
For current software installation, use the official MagicMirror² installation guide. My second MagicMirror build also shows the later hardware and control setup.
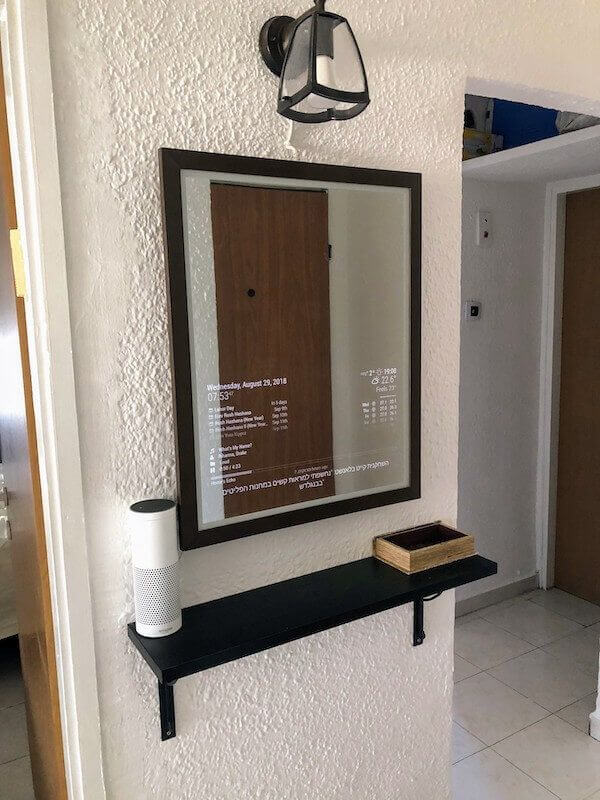
MagicMirror Build Pictures
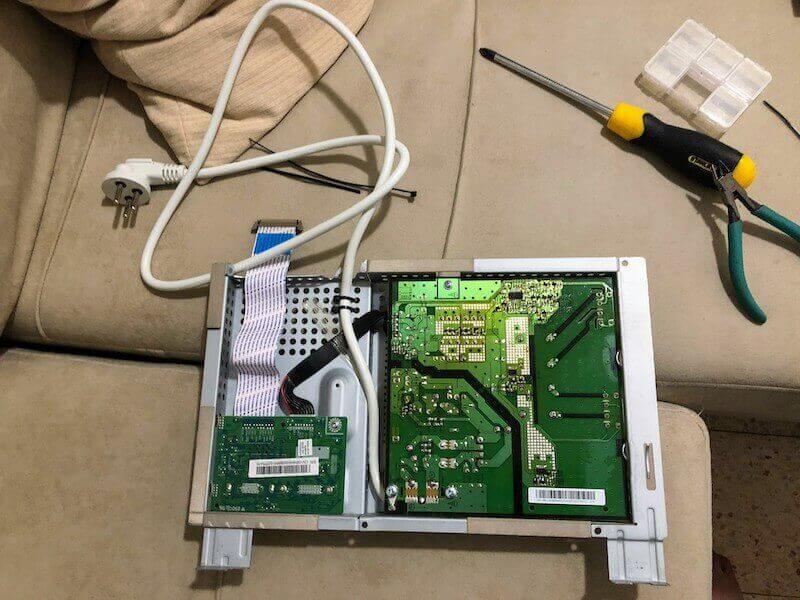
23-inch Samsung screen power connection work:
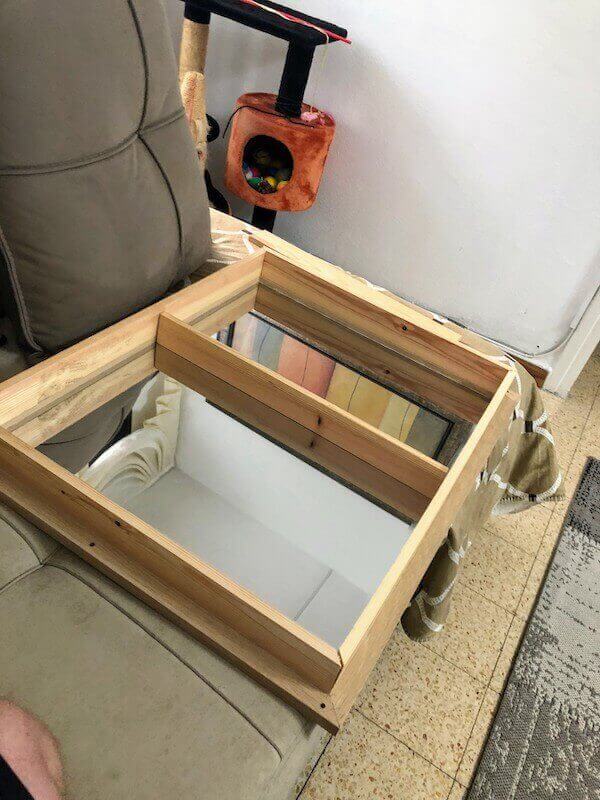
Initial wooden-frame fitting test on glass with dual-mirror film:
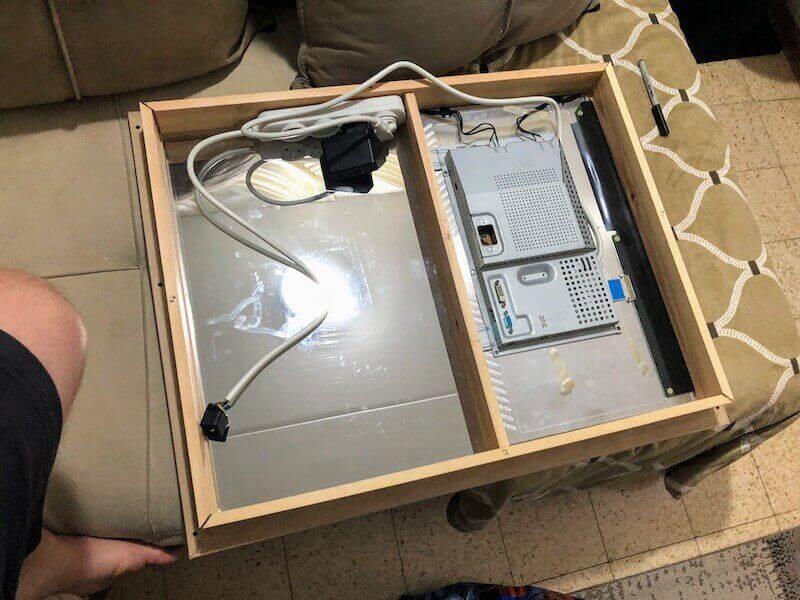
Testing the display installation with the frame removed:
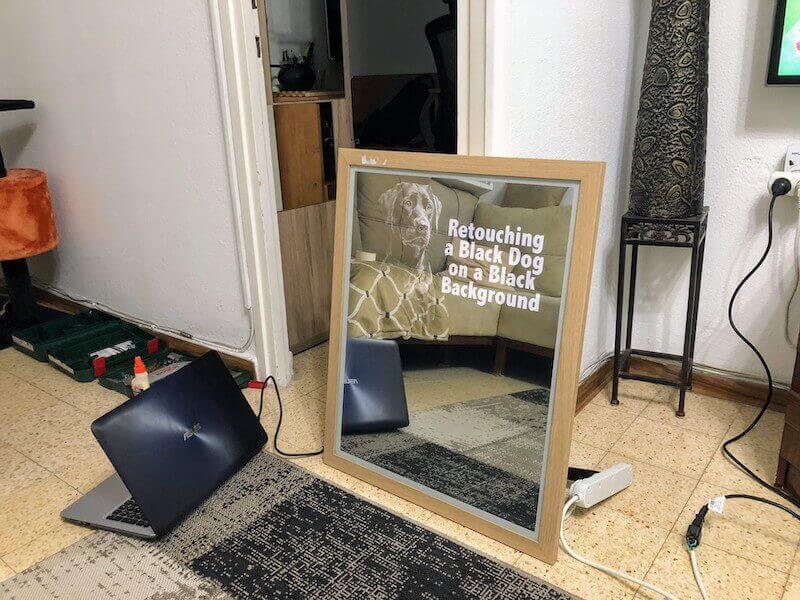
Testing a black-and-white image from a laptop after assembling the frame:
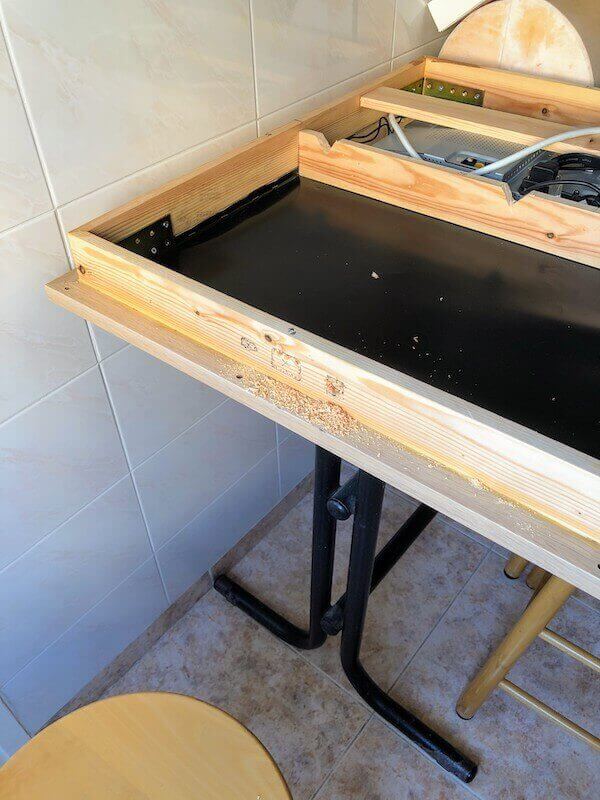
Power, LAN, and USB cutouts:
Extended ports fitted with wood filler:
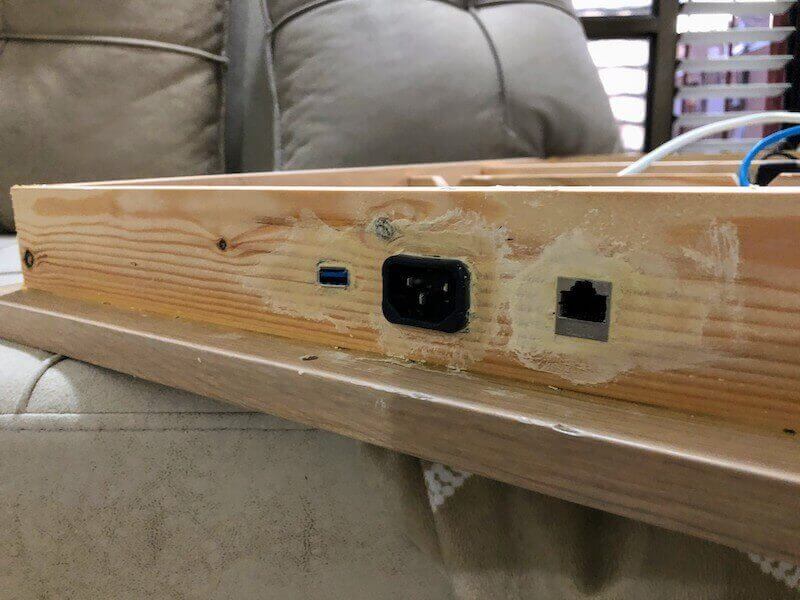
The finished external ports:
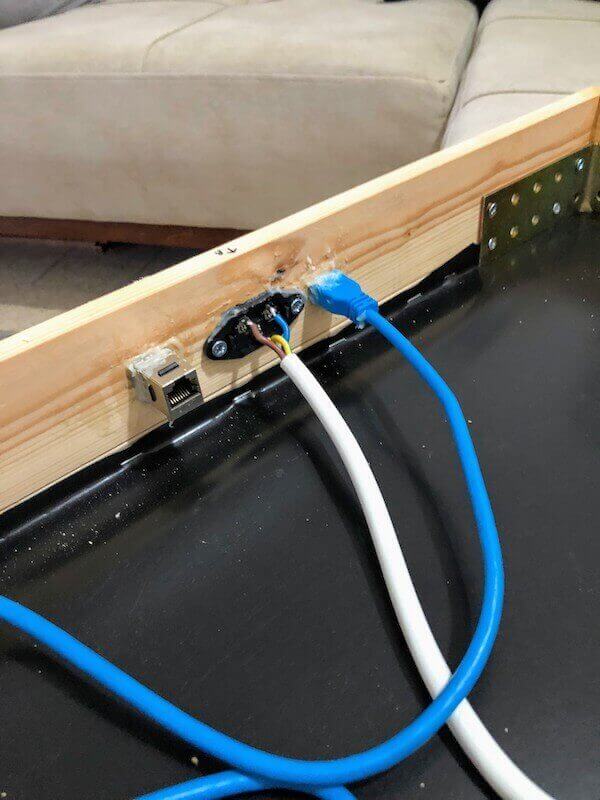
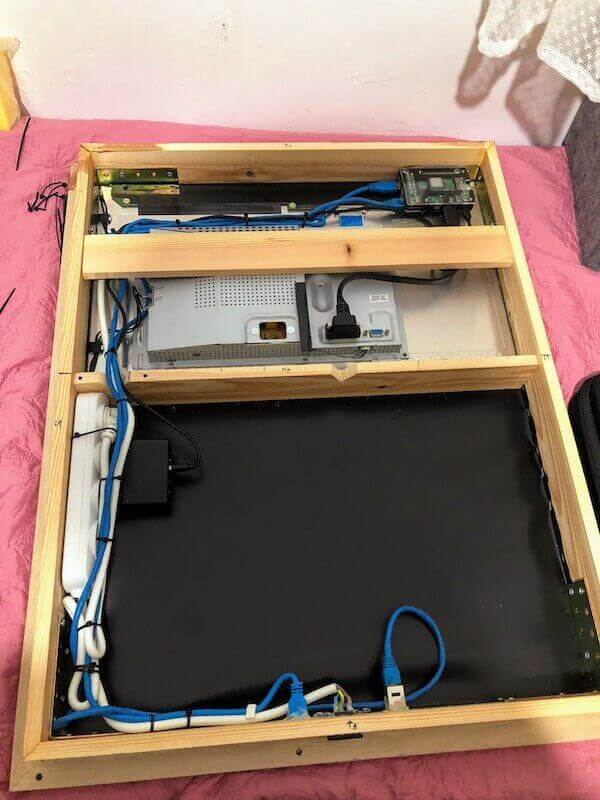
Display, Raspberry Pi, cable routing, and blackout material behind the mirror:
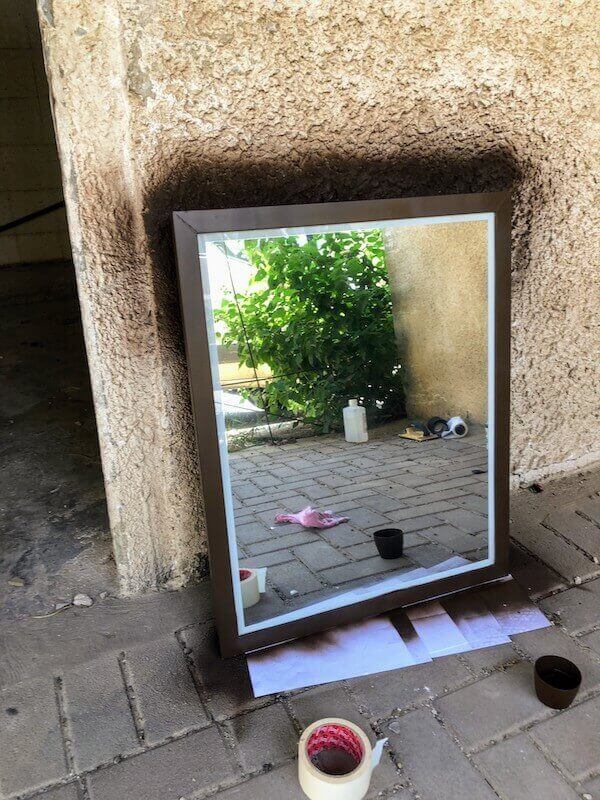
Adding color to the frame:
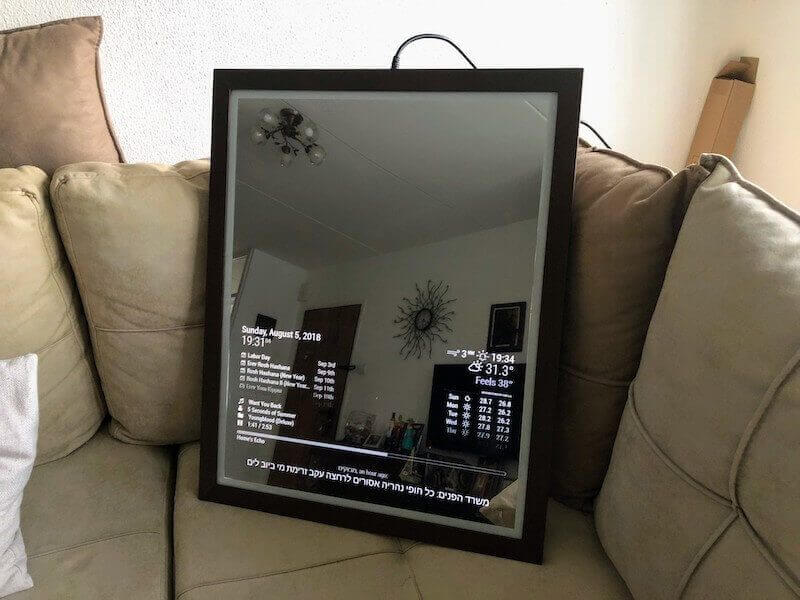
Final function test:
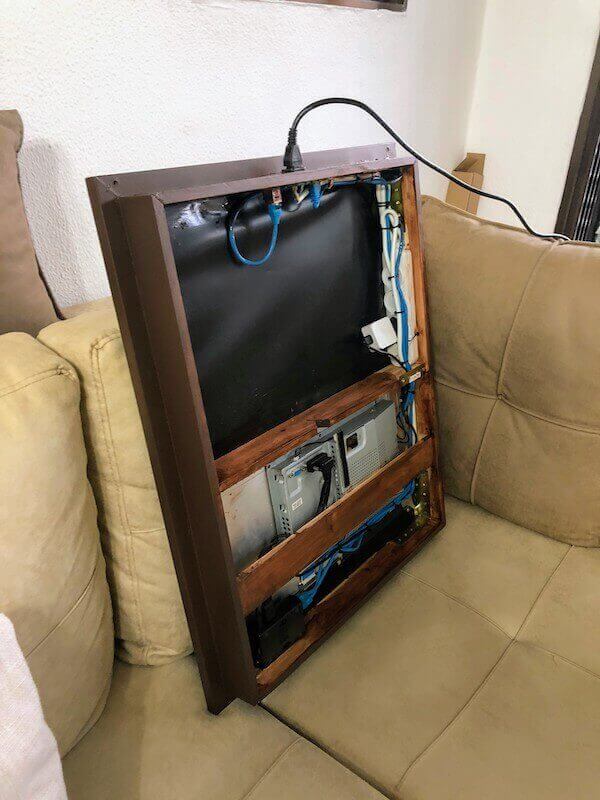
Full assembly behind the mirror:
Final product:
What Still Transfers to a New Build
- Prove the screen, controller, and HDMI path before building the frame.
- Plan cable exits, service access, ventilation, and a safe shutdown path before closing the back.
- Block light around the active display area.
- Keep mains-voltage parts enclosed and strain-relieved.
- Treat the software as a separate, replaceable layer and follow current project documentation.